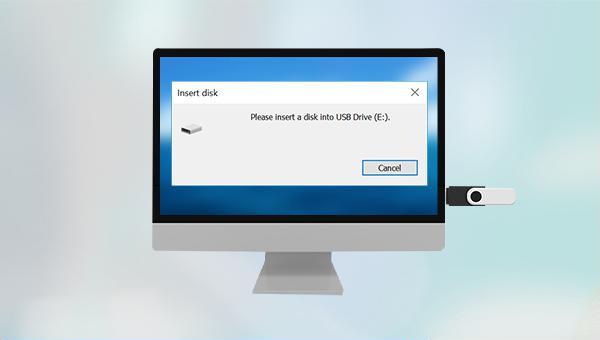
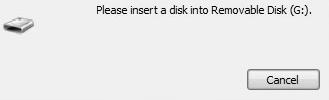
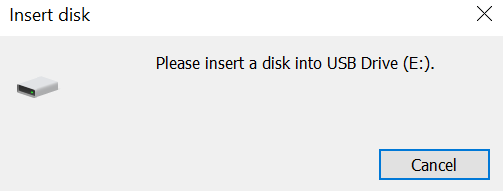
When you are using a USB flash drive and the error message “Please insert a disk into removable disk” or “Please insert a disk into USB drive” appears, it is usually impossible to perform some normal operations on the USB flash drive, such as copying content, formatting operations, and so on. If you go to Disk Management to check the status of this U disk at this time, it will display “unallocated”. Don’t worry too much if you encounter this fault, you can try to solve it with the help of the following methods.
Sometimes, the failure of the U disk may be caused by the failure of the USB interface. At this time, you may wish to try to connect the U disk device to another USB port of the computer to try to solve the problem.
When the drive letter of the USB flash drive conflicts with other partitions, it may cause the fault of “Please insert the disk into the drive” on the USB flash drive. At this time, you only need to reset the new drive letter through Disk Management to solve the problem. The specific operation steps are as follows:
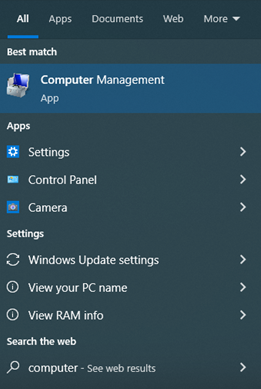
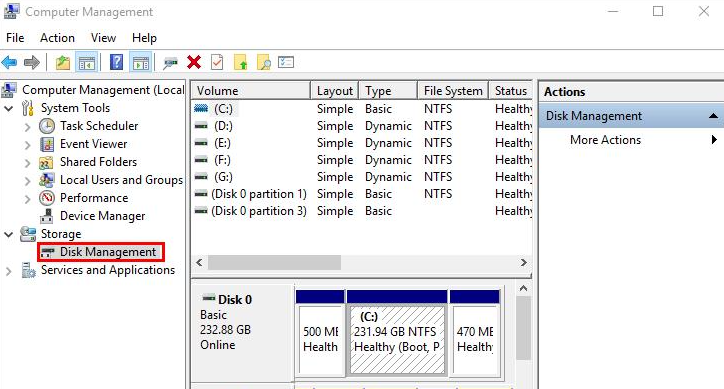
Step 1: Run the computer, type computer management in the search box in the lower left corner, and then click to enter the function option box.
Step 2: Next, click Disk Management on the left window, and find the U disk device whose drive letter needs to be re-modified.
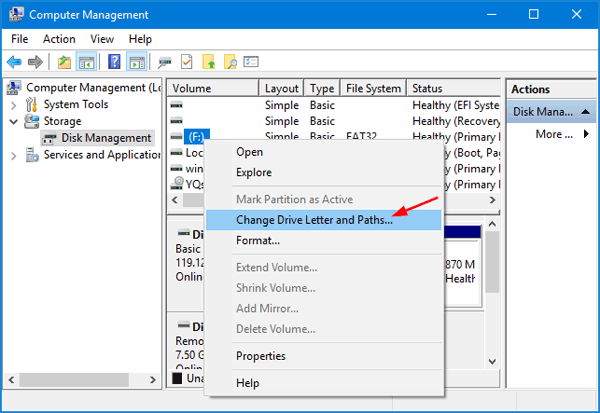
Step 3: After confirming the completion, right click on it and select the option Change Drive Letter and Paths .
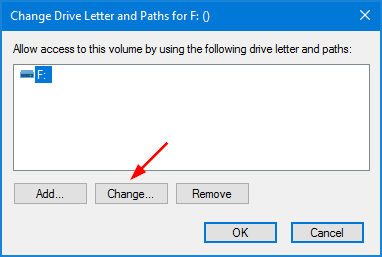
Step 4: Click the button Change to execute the command to change the drive letter.
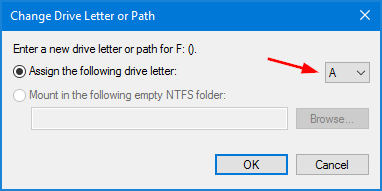
Step 5: Next, check Assign the following drive letter and choose a letter. Then click OK to change the drive letter.
When the U disk fails or other reasons make it unallocated, there will also be a failure prompt of “Please insert the disk into the drive”. At this time, you only need to create a new simple volume in Disk Management to solve it. It should be noted that if the USB flash drive contains important files, you can use a professional data recovery tool to perform a comprehensive scan on the USB flash drive before creating a simple volume, and try to recover the important files. For specific recovery steps, please refer to this article
the second part content. The following are the specific steps to create a simple volume:
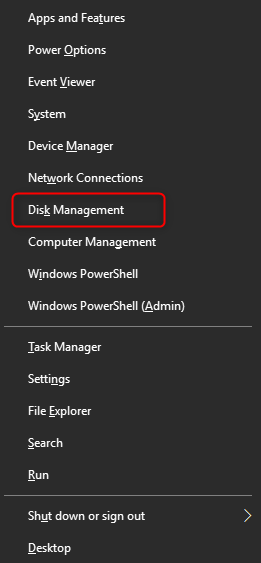
Step 1: Press the keys Windows and X on the keyboard at the same time. Then in the pop-up list, select the option Disk Management .
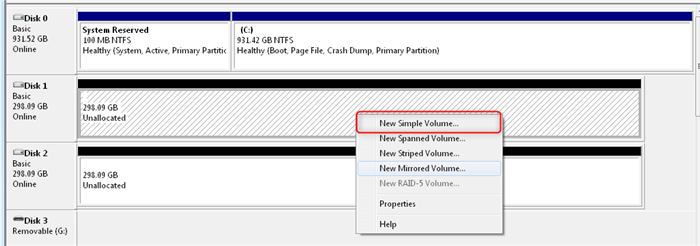
Step 2: After finding the target U disk, right-click the unallocated space on the U disk and select the option New Simple Volume .
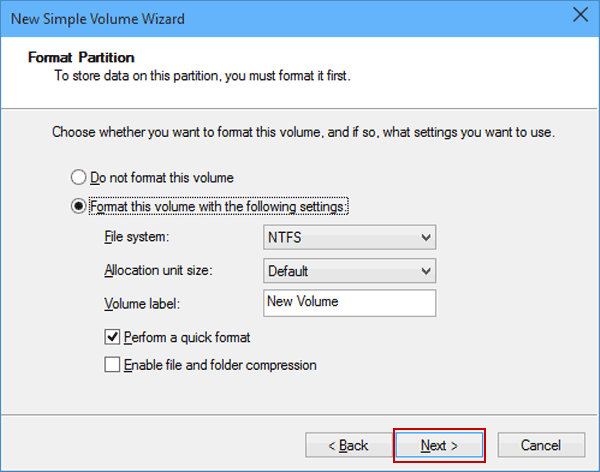
Step 3: Next, you can customize the partition size, drive letter, file system (NTFS, exFAT, FAT32, etc.) Also remember to check the option Perform a quick format . After the setting is complete, click the button Finish to complete the creation of the partition. Then you can use the target U disk normally.
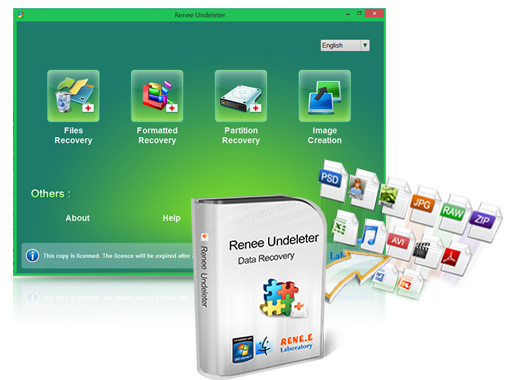
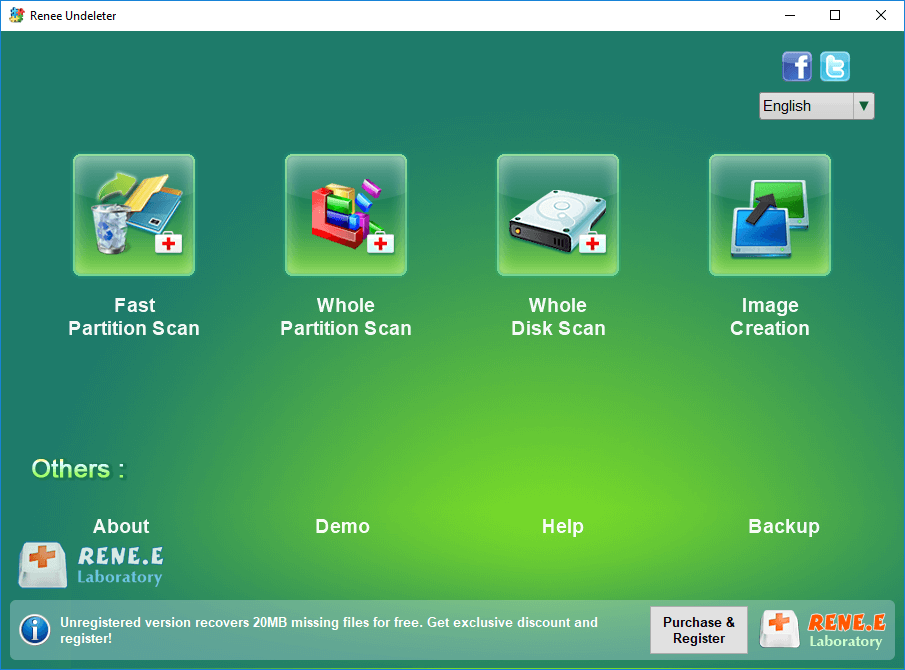
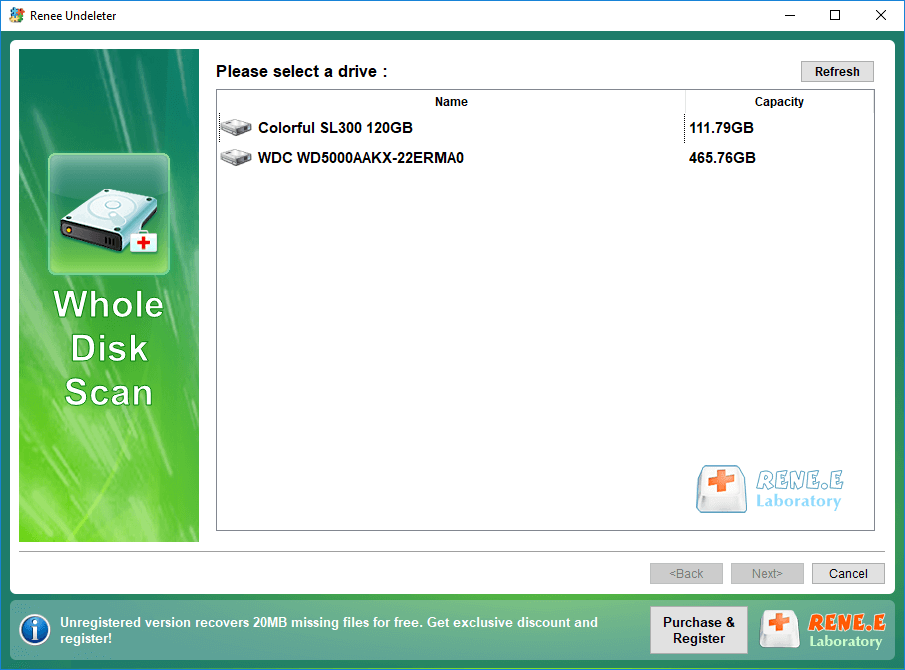
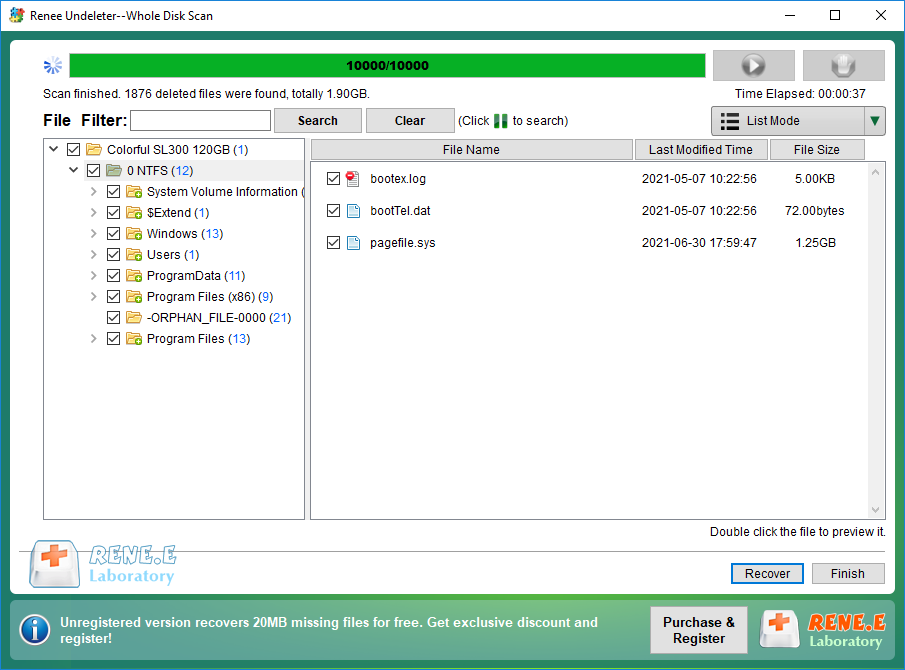
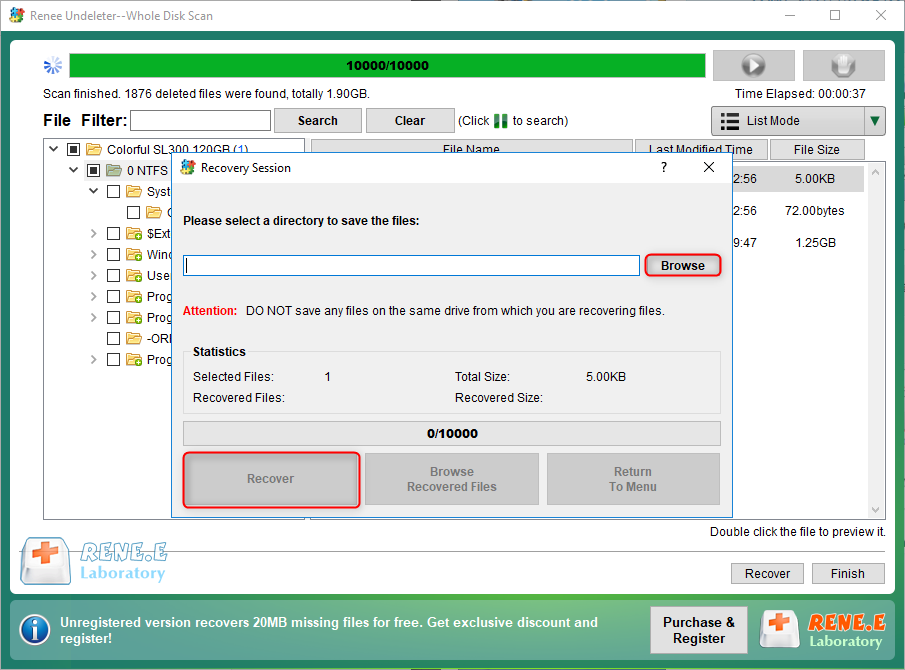
The above are several methods to effectively repair the prompt “Please insert the disk into the drive” in the U disk. When adopting the method of creating a new simple volume, because the operation of formatting may cause data loss, it is recommended to use professional data recovery software to scan and restore the U disk before creating a simple volume, such as the partition recovery of
Renee Undeleter mode to scan the U disk data that has become “unallocated”. The following is a specific introduction.



Comments
0 comments
Please sign in to leave a comment.