How to Fix an SD Card That is Deleting Files by Itself
An SD card that deletes files by itself is likely corrupted and should be repaired. There are several methods you can use to fix your SD card. Again, make sure you’ve already recovered all important files from the SD card before you proceed to the techniques outlined here.
Method 1: Check for Malware
Malware can sometimes be the root cause of disappearing files on an SD card. Just to be sure your card is free from malicious software, use Windows Defender to run a thorough scan:
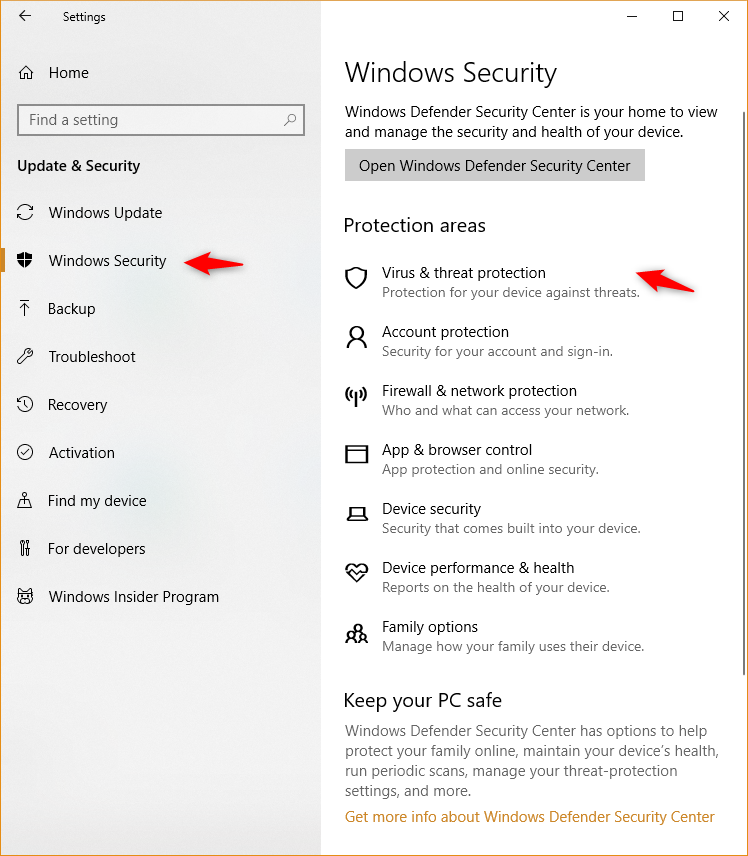
1. In the search bar type Windows Security , and open the app.
2. Navigate to Virus & threat protection and select Scan options .
3. Choose Full scan to perform a full check of all files and programs on your computer, including any connected SD cards.
4. Click Scan now to begin. This process can take some time depending on the amount of data to be scanned.
5. If any threats are found, follow the on-screen instructions to resolve them, which might include quarantining or removing infected files. Running this check can help restore the SD card’s functionality and protect your data against future threats.
Method 2: Use the CHKDSK Command
The
CHKDSK command is a Windows utility for checking a disk or drive for logical and physical errors. It looks a tad intimidating because the command prompt is used, but it’s actually way easier to perform than it appears.
Here’s how you can use CHKDSK:
1. Make sure the SD card is connected to your PC.
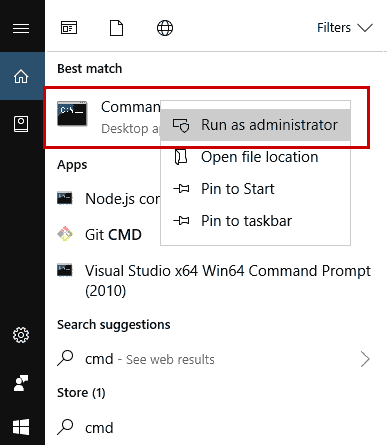
2. Type cmd on Windows search. Look for Command Prompt then click Run as administrator .
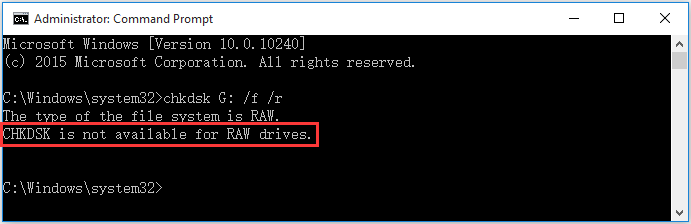
3. Type the following text on the Command Prompt: CHKDSK G: /f /r
4. Make sure to replace E with the designated letter of the SD card you want to repair. In our case, the SD card is assigned to G.
5. Press Enter and wait for the process to finish.
The CHKDSK command will scan the SD card and fix any error it finds. Once the process is complete, go back to the SD card and check if it is back to its normal function.
Method 3: Repair with Windows Troubleshooter
If the previous method doesn’t work, try fixing your SD card with Windows Troubleshooter. This is another built-in tool for checking and troubleshooting faulty drives and devices. Simply follow these steps to use Windows Troubleshooter:
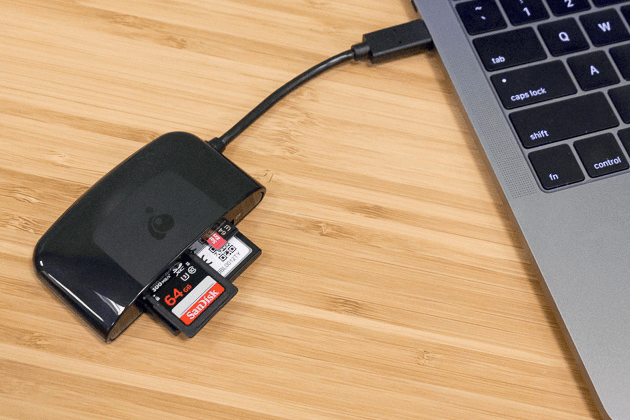
1. Connect the faulty SD card to your PC with card reader.
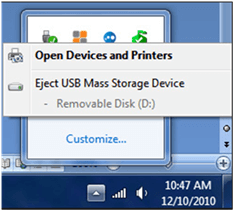
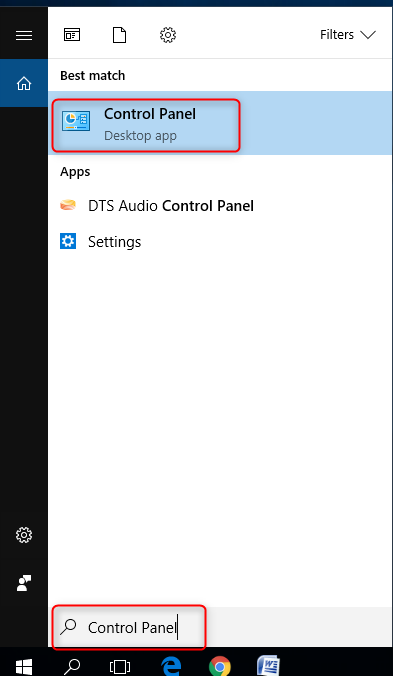
2. Go to the Windows Control Panel using the search bar. In the control panel, open Devices and Printers .
3. Look for the faulty SD card under the list of devices. Right-click on the icon and select Troubleshoot .
4. Wait for the troubleshooter to finish running.
Make sure that no other Window is using the SD card when you run the troubleshooter. The dialogue box will display a list of errors and recommended actions if it detects issues in your SD card. If the problem persists after using this approach, you should go ahead and proceed to Method 4.
Method 4: Format the SD Card
Formatting corrupted SD cards may seem like a drastic measure, but it is a powerful approach you can use as a last resort when your SD card is deleting files for no reason. Formatting a flash drive, hard drive, or SD card will permanently delete all files contained therein, so it’s extremely important that you recover or back up the contents of the storage device before you format it. Here’s the formatting process for when an SD card erased itself:
1. Open File Explorer and click on This PC on the left pane.
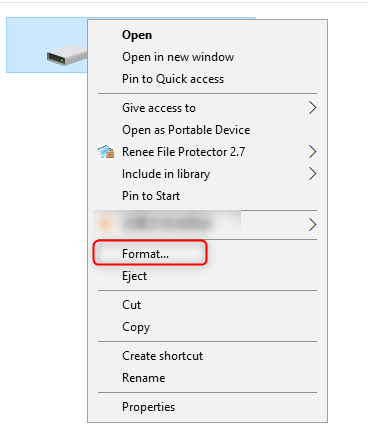
2. Look for the SD card under Devices and drives . Right-click on it and select Format .
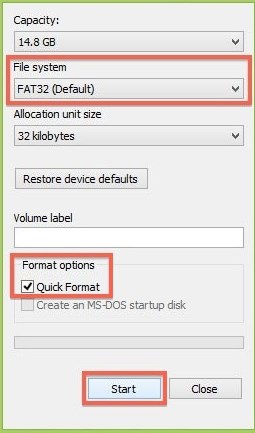
3. Choose the desired File system and type in a Volume label . Untick the Quick Format option then click Start.








Comments
0 comments
Please sign in to leave a comment.