How to Fix the USB Drive Needs to Be Formatted Problem
Now that you’ve, hopefully, successfully recovered all important files from the USB drive that suddenly needs to be formatted, it’s time to fix the problem that’s triggering the message and making it impossible for you to use the drive normally.
Solution 1: Format the USB Drive
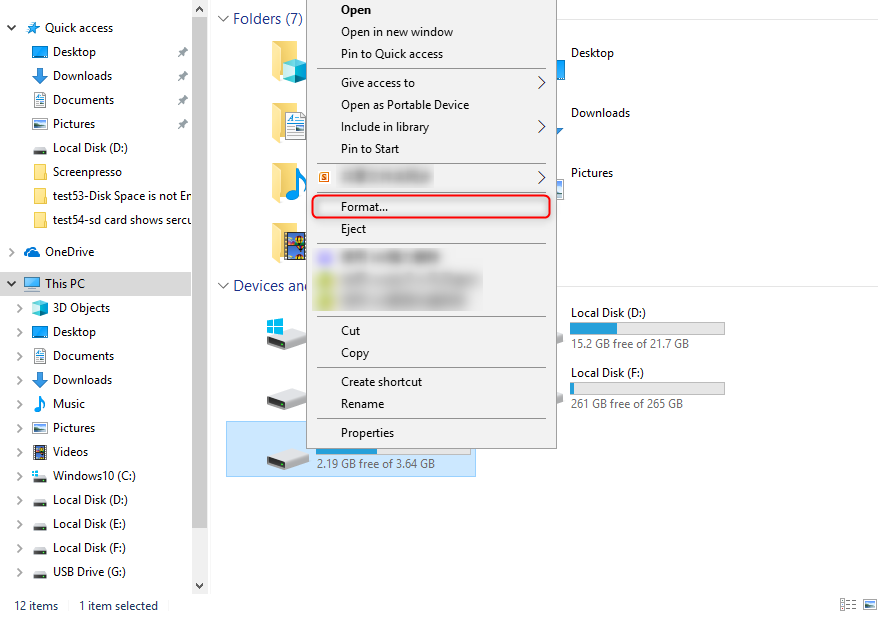
If the USB drive is new or you’ve recovered all important data from it, you can format it to fix the issue. Formatting the USB drive will erase all data on it and create a new file system. Here’s how to format a USB drive in Windows:
1. Connect the USB drive to your computer.
2. Open File Explorer and right-click on the USB drive.
3. Select Format from the context menu.
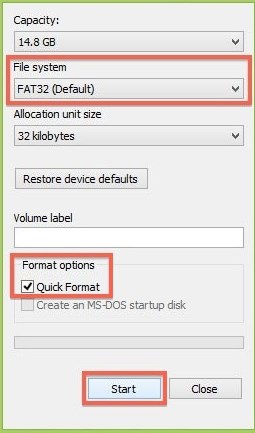
4. Choose the file system you want to use (we recommend FAT32 or exFAT).
5. Click Start to begin the formatting process.
If Windows is unable to complete the format, it may be due to a driver issue. In that case, skip to and then come back to this one.
Solution 2: Check the Drive for File System Errors
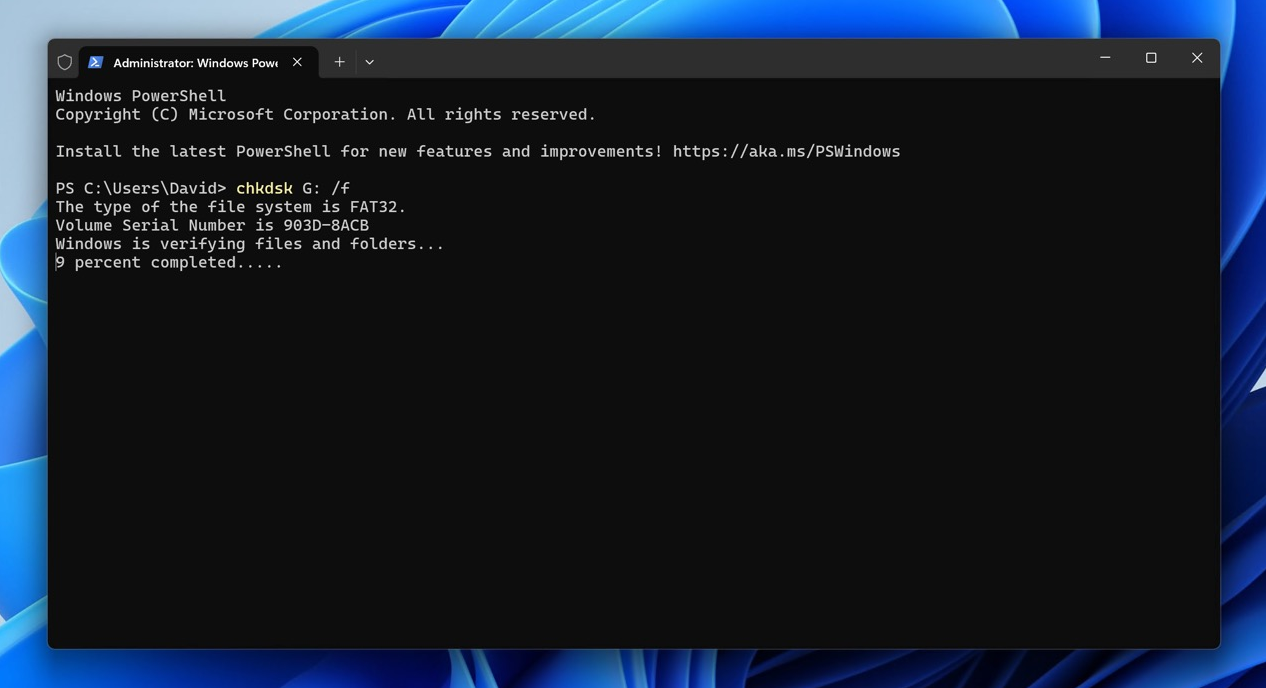
If the USB drive has a corrupted file system, it may trigger the “USB drive needs to be formatted” message. You can use the built-in Windows tool called
CHKDSK to check for and fix file system errors. Here’s how:
1. Connect the USB drive to your computer.
2. Open Command Prompt as an administrator.
3. Type “ chkdsk X: /f ” (replace X with the drive letter of your USB drive) and press Enter.
Alternatively, you can use the Verify or Repair Bad Sectors feature in DiskGenius, an all-in-one data recovery and repair tool.
Solution 3: Recover Lost Partitions
Have you attempted to partition the USB drive before encountering the
formatting is required to use this USB storage error? If so, then it’s possible that one or more partitions have become lost. The good news is that you can attempt to recover lost partitions using
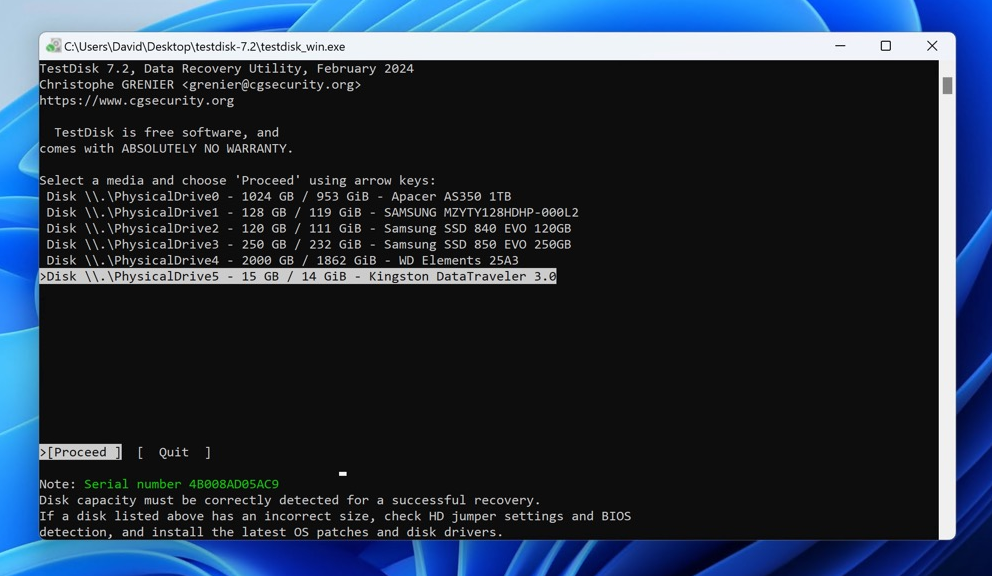
TestDisk , a powerful open-source tool. TestDisk doesn’t have a graphical user interface like Renee Undeleter, but the recovery process isn’t all that complicated, and you can follow the official step-by-step guide. Here’s a quick summary to get you started:
1. Download TestDisk from the official website. It’s available for Windows, macOS, and Linux.
2. Once installed, open TestDisk. The application will present you with a list of drives. Use the arrow keys to navigate and select your USB drive.
3. Next, you’ll need to select the partition table type. If you’re not sure, don’t worry. TestDisk can usually detect it automatically.
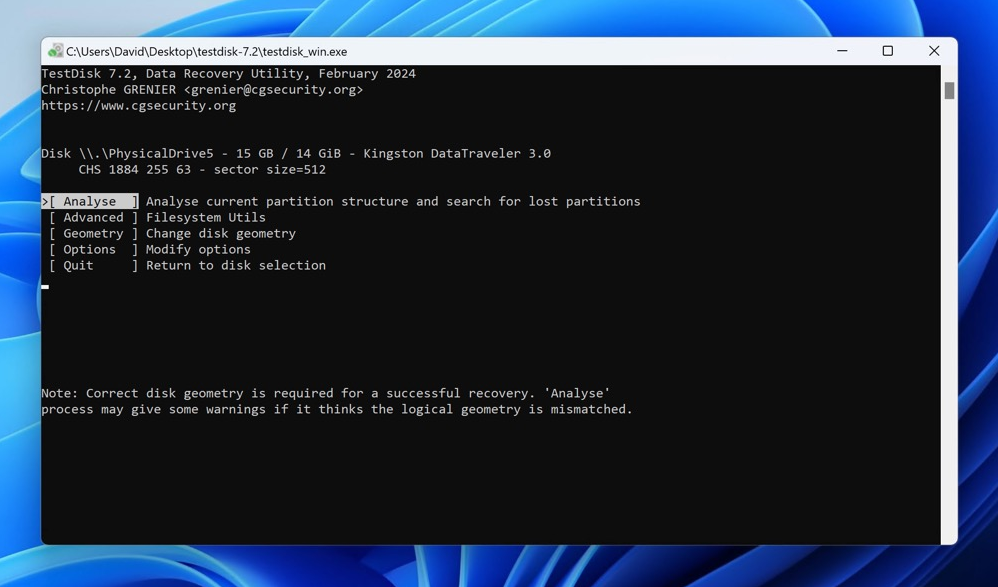
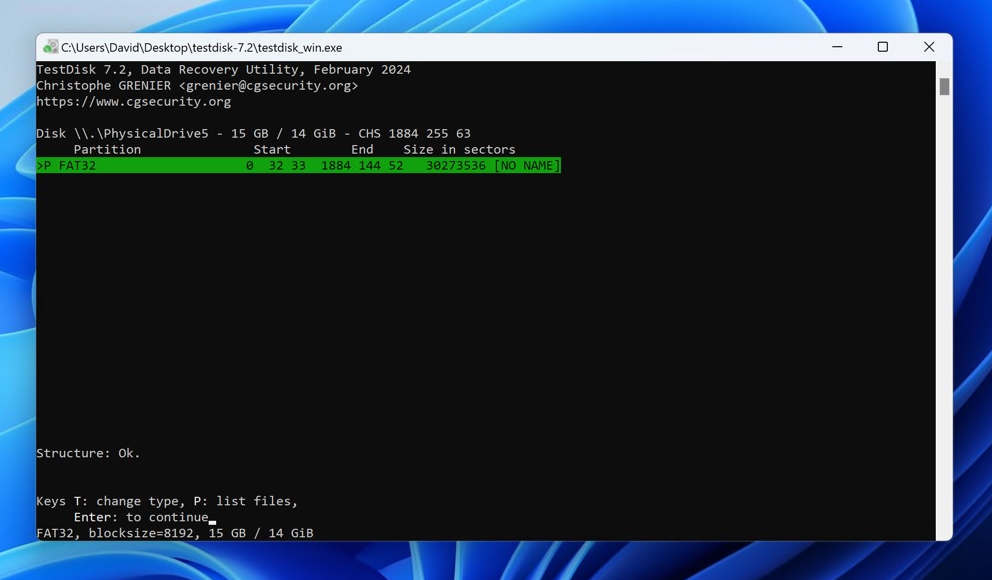
4. Once the drive and partition type are selected, proceed with the analysis. TestDisk will check the current partition structure and try to find lost partitions.
5. If recoverable partitions are found, TestDisk will allow you to write the recovered partition structure back to the disk. If not, it will offer you options to search deeper.
Solution 4: Reinstall Drivers
While rare, it’s possible for USB drivers to become faulty and cause issues with USB drive access or even formatting. In this case, reinstalling the drivers may solve the problem. To reinstall the drivers for your USB drive, follow these steps:
1. Connect the USB drive to your computer.
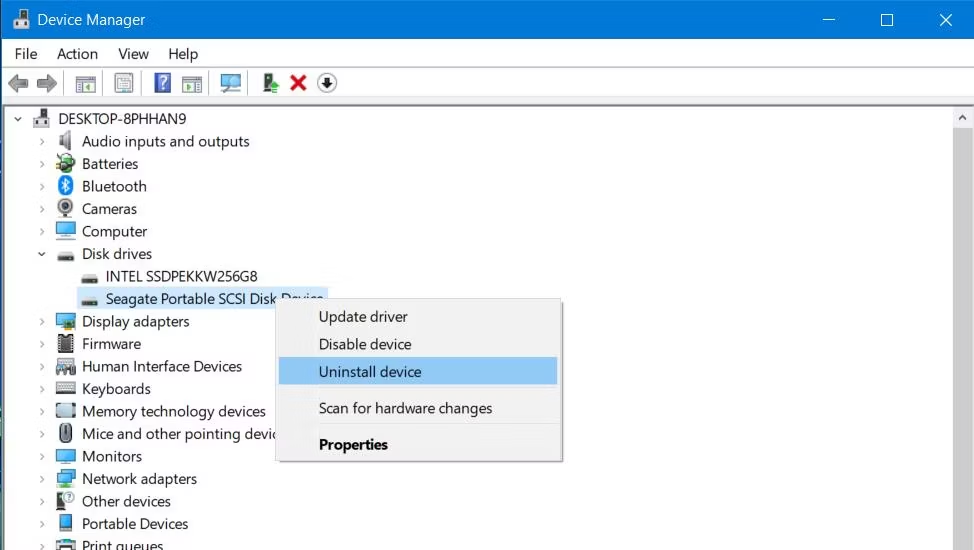
2. Open Device Manager by typing Device Manager into the Start menu search bar and selecting the app from the search results.
3. In Device Manager, find and expand the Universal Serial Bus controllers category.
4. Right-click on your USB drive and select the Uninstall device option.
5. Restart your computer and reconnect your USB drive. Windows should automatically install the correct drivers for your USB drive from scratch.
Solution 5: Check for Physical Damage
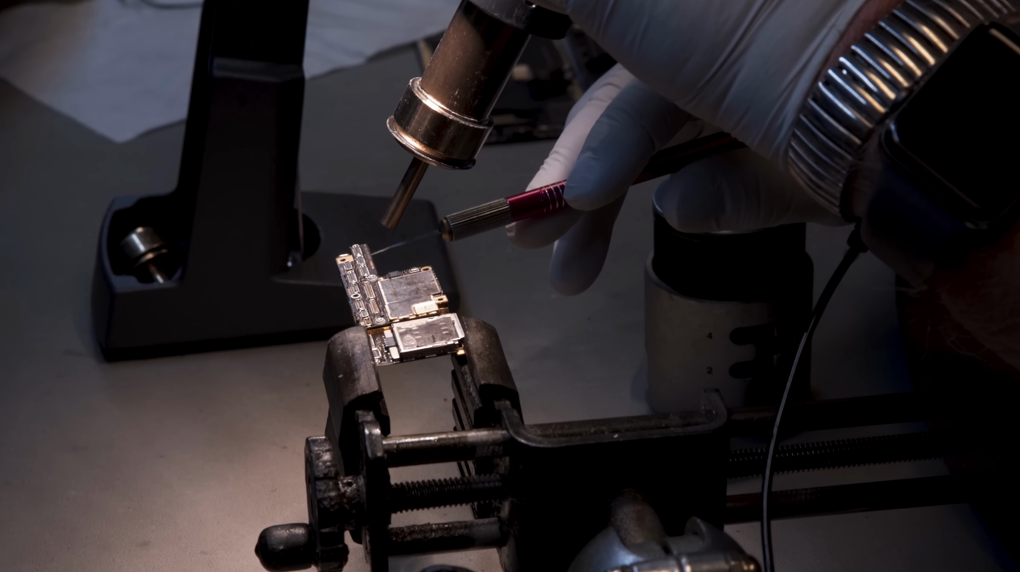
If none of the above solutions work, your USB drive might be physically damaged. Look for obvious signs of wear or damage. If you suspect physical damage, such as a broken connector or case, it’s best to send the drive to a professional data recovery repair center. They can often retrieve data from damaged drives and provide repair services if possible.






Comments
0 comments
Please sign in to leave a comment.