In this part of the article, we will provide you with step-by-step solutions to help you with Sony XQD data recovery. Whether you have accidentally deleted your photos, formatted your card, or encountered data corruption or malware, we have got you covered.
If you have accidentally deleted data from your Sony XQD card, the first thing you should do is to stop using the card immediately. This is because any new data that you save onto the card can potentially overwrite the deleted data, making it impossible to recover. However, as long as the deleted data is still physically present on the card, it is possible to recover it. The best way to do this is by using capable data recovery software. We recommend using Renee Undeleter as the best option for Sony XQD data recovery because it supports over 400+ file formats, including RAW photos and videos, such as Sony Alpha RAW files. It’s also compatible with all popular file systems, and it even handles XQD cards that don’t have a functioning file system.
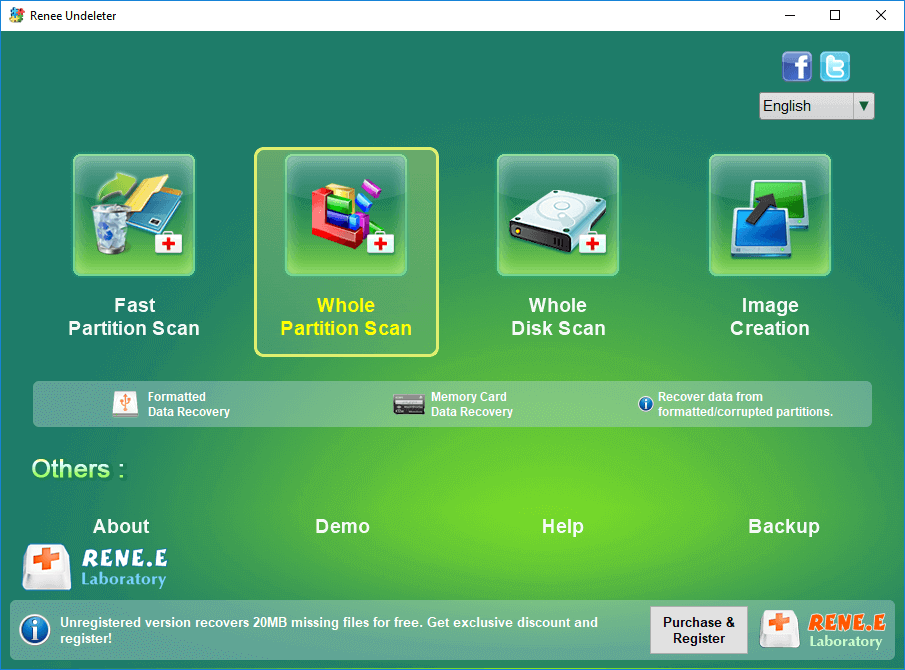
Renee Undeleter is designed to restore system data files. Whether you’ve accidentally deleted files, emptied the recycle bin, or formatted a disk, this tool can retrieve lost data. It includes four functional modules:
Fast Partition Scan ,
Whole Partition Scan ,
Whole Disk Scan , and
Image Creation , addressing all data loss issues comprehensively.
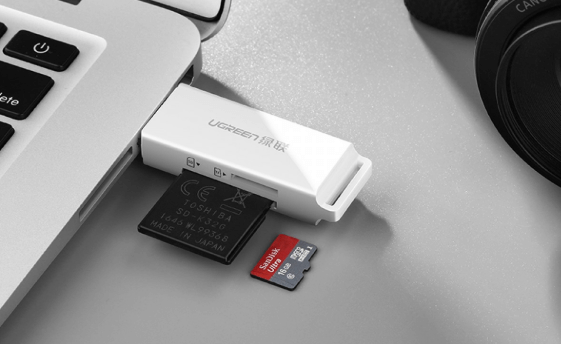
Step 1: Connect the XQD card to the computer through a card reader, download and install Renee Undeleter on the computer, and run Renee Undeleter. Select the ( Whole Partition Scan ) option on the main interface.
Note: Do not install Renee Undeleter in the disk where data is lost to avoid data overwriting.
Fast Partition Scan – Retrieve files lost due to accidental deletion or emptying the recycle bin.
Whole Partition Scan – Recover files from inaccessible or formatted partitions.
Whole Disk Scan – Analyze partition information and perform a full partition scan.
Image Creation – Create image to back up the current partition state.
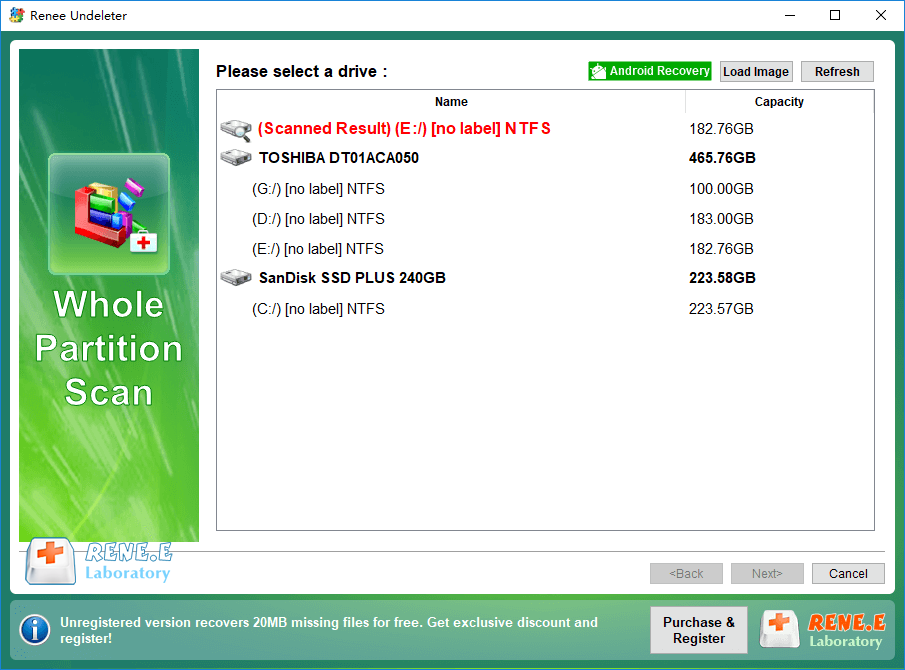
Step 2 : Select the Micro SD card partition and click ( Next ).
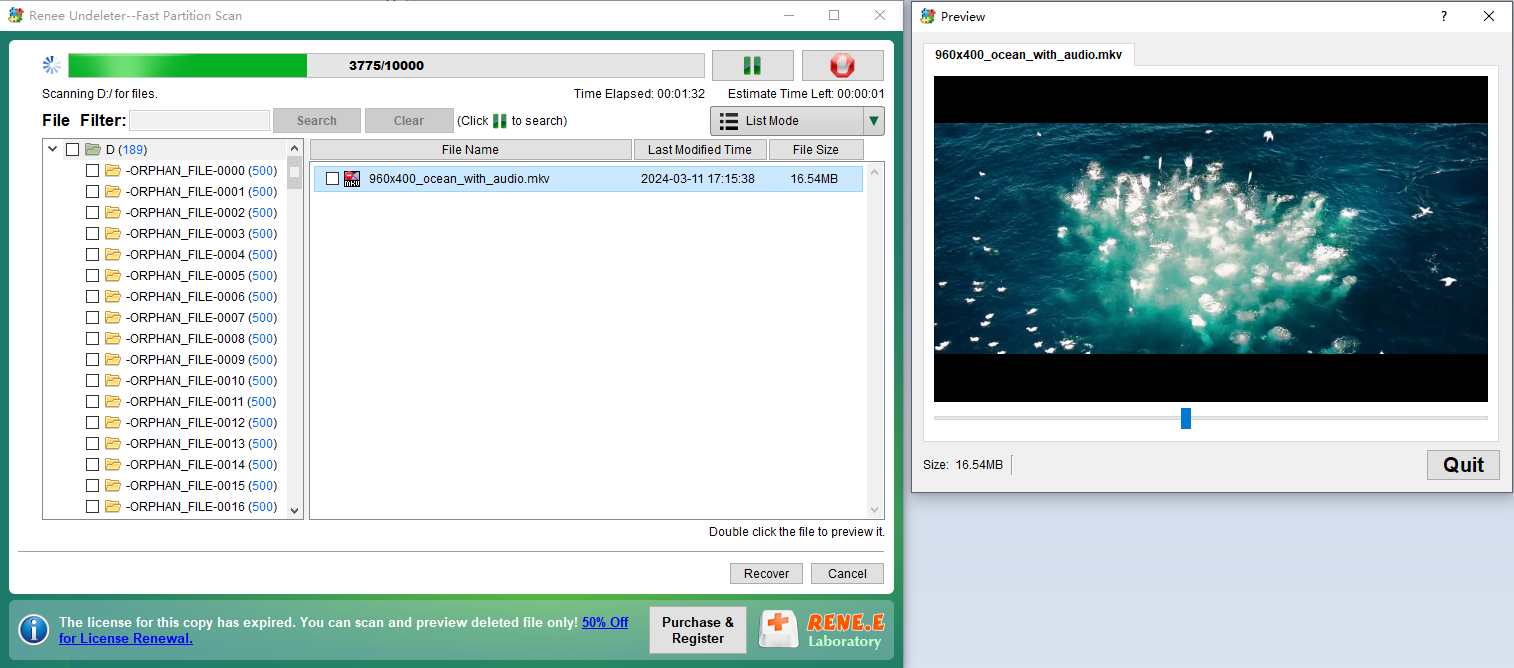
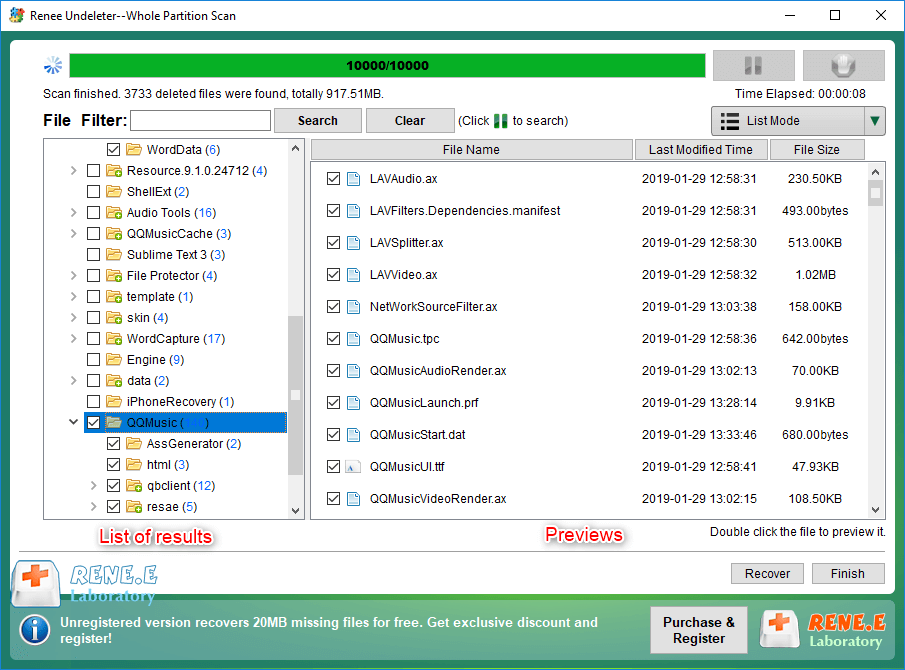
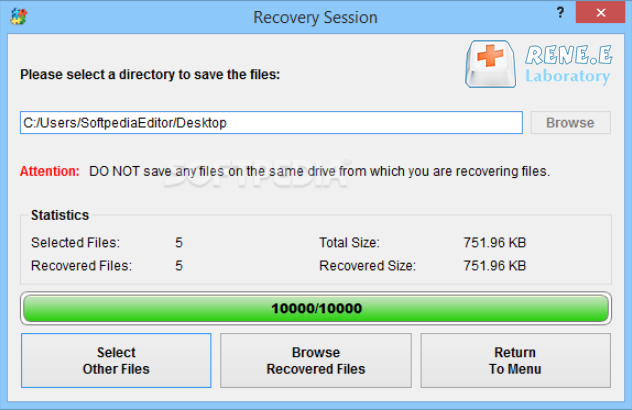
Step 3: Wait for the scan, which will depend on the XQD card’s memory size . During the scan, you can double-click to preview files. If you find the file you need, check it and click the Recover button to terminate the scan and start recovery. Alternatively, wait for the scan to end, check the files to recover, and then click the Recover button.
Note: It is recommended to save the recovered files in other partitions instead of the original XQD card to avoid data overwriting.


Comments
0 comments
Please sign in to leave a comment.